Choosing Your First Cross Stitch Project
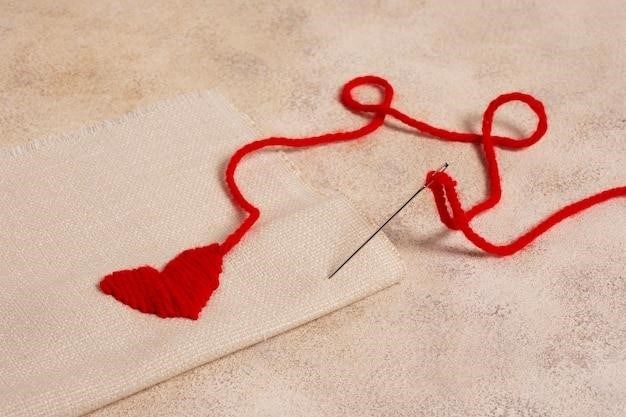
Choosing your first cross stitch project is an exciting step! Start with a simple pattern, like a small design or a single symbol․ It’s best to avoid full-coverage patterns for your initial project, as these can be overwhelming․ Choose a pattern that you find visually appealing and one that you’re motivated to complete․ Remember, the goal is to enjoy the process and build your confidence as a beginner stitcher!
Selecting a Pattern
The world of cross stitch patterns is vast and exciting! For beginners, simplicity is key․ Choose a pattern with a limited number of colors and stitches, avoiding intricate designs or those with many different symbols․ Start with a small project, perhaps a simple animal, a flower, or a geometric shape․ Many online resources offer free beginner patterns, and you can also find them in craft stores or cross stitch magazines․ Look for patterns labeled as “beginner-friendly” or “easy․” Remember, the goal is to learn the basics and build your confidence, so don’t feel pressured to tackle a challenging project right away․ Consider the size of the finished project, too, as smaller projects are generally easier to manage for beginners․
Gathering Supplies
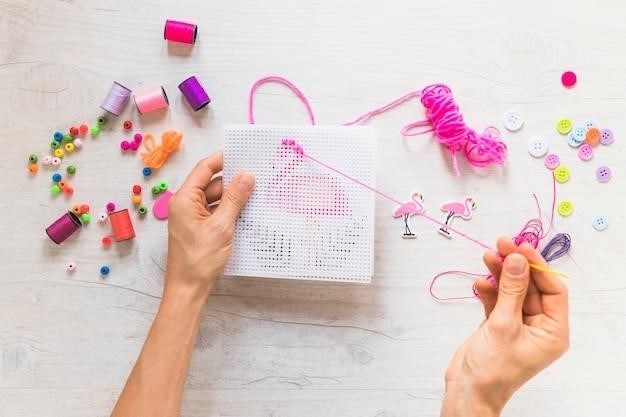
Before you dive into your first cross stitch project, make sure you have the essential supplies․ You’ll need a cross stitch fabric, such as Aida cloth, which is a woven fabric with evenly spaced holes specifically designed for cross stitch․ Choose a fabric with a count that matches your chosen pattern․ You’ll also need embroidery floss, which comes in a variety of colors and is often made of cotton․ Select floss that matches the colors in your pattern․ A tapestry needle with a large eye is essential for threading the floss easily․ Additionally, consider using an embroidery hoop to keep your fabric taut and make stitching easier․ Finally, you’ll need scissors to trim your threads and a pencil or pen to mark your fabric if needed․ With these basic supplies, you’re ready to begin your cross stitch journey․

Getting Started with Cross Stitch
With your supplies gathered, you’re ready to embark on your first cross stitch adventure․ Let’s start by preparing your fabric and threading your needle․
Preparing Your Fabric
Before you start stitching, take a moment to prepare your fabric․ This ensures a smooth and enjoyable stitching experience․ First, trim the Aida fabric all the way around, leaving about 3cm of fabric․ This will help prevent fraying and keep your project looking neat․ Next, iron your fabric to remove any wrinkles or creases․ Ironing helps create a flat and even surface for stitching․ Finally, find the center of your fabric․ Many cross stitch patterns start at the center of the fabric, so this is an important step․ To find the center, fold the fabric in half both horizontally and vertically, and mark the intersection point․ This will be your starting point․
Threading Your Needle
Threading your needle is a simple yet essential step in cross stitching․ Start by selecting a tapestry needle, which has a blunt tip and a large eye, making it ideal for cross stitch floss․ To thread your needle, first, separate out a single strand of floss from the skein․ Hold the floss with one hand and pinch the end of one strand with the other․ Gently and slowly pull the strand up and out until it is separated from the remaining strands․ Next, fold the separated strand in half and thread it through the needle’s eye․ Leave a small loop at the bottom of the folded strand․ This will help you secure your thread when you start stitching․ Now you’re ready to begin your cross stitch journey!
Making Your First Stitch
With your needle threaded, you’re ready to create your first cross stitch! To make a cross stitch, first, bring your needle up through the top left hole of the square you’re starting on․ Leave about an inch of thread out at the back of the fabric․ Next, go diagonally across the square, bringing your needle down through the bottom right hole․ Now, bring your needle back up through the top right hole and then back down into the bottom left hole․ You’ve just completed your first cross stitch! Repeat this process to create more cross stitches, always working in the same direction for a consistent look․ Don’t worry if your stitches aren’t perfect at first, practice makes perfect!
Understanding Cross Stitch Basics
Cross stitch is a simple but rewarding craft that involves creating a pattern by making “X” shapes on fabric using embroidery floss․
The Basics of the Cross Stitch
The heart of cross stitch lies in the simple “X” stitch․ This fundamental stitch is created by making two diagonal stitches that intersect in the middle․ To make a cross stitch, you bring your needle up through one hole in the fabric, then diagonally down through the hole opposite it․ Next, bring your needle back up through the adjacent hole, creating a diagonal line that crosses your first stitch․ This forms the iconic “X” shape․ You can stitch a cross stitch in two ways⁚ by completing one half stitch at a time, or by stitching the whole “X” at once․ It’s a matter of personal preference․ The key is to keep your stitches consistent and even for a polished and professional look․
Fractional Stitches
Fractional stitches add a touch of detail and dimension to your cross stitch projects․ They’re essentially partial cross stitches, used to create a variety of effects․ A half stitch, for instance, involves only one diagonal line of the “X,” creating a single slanted line․ Quarter stitches, on the other hand, are even smaller, with just a single diagonal line across the fabric․ These fractional stitches are often used for outlining shapes, creating shadows, or filling in small areas where a full cross stitch might be too bulky․ Mastering these smaller stitches allows you to create intricate details and add visual interest to your designs․
Double Cross Stitches
Double cross stitches, also known as “backstitches,” are a simple yet effective way to add texture and definition to your cross stitch designs․ They’re essentially two cross stitches worked directly on top of each other, creating a thicker, bolder stitch․ Double cross stitches are often used to outline shapes, create borders, or add emphasis to specific details․ The extra thickness of the stitch makes it stand out against the background, creating a visual contrast and adding depth to your work․ They can also be used to create unique textures within your design, adding an extra layer of visual interest․

Tips for Beginners
Cross stitch is a relaxing and rewarding hobby, but it’s important to start with the right techniques to make the process enjoyable․
Starting in the Middle
Beginning your cross stitch project in the center of your fabric is a crucial step for beginners․ It ensures that you have enough fabric on all sides, preventing the frustration of running out of space before completing your design․ Finding the center is simple⁚ fold your fabric in half both horizontally and vertically, marking the intersection point․ This point is your starting point! Starting in the middle also allows for more even tension and a more symmetrical final piece․ It’s a small detail that makes a big difference, especially for beginners who are still mastering the art of cross stitching․
Working in Rows
Cross stitch is typically worked in rows, progressing from left to right․ This methodical approach helps ensure a neat and organized stitch pattern․ While you can start anywhere on your fabric, it’s generally recommended to begin near the middle at the start of a color row․ Working in rows helps maintain consistent tension, making it easier to avoid puckering or loose stitches․ It also allows you to easily track your progress and identify any potential mistakes․ As you get more comfortable, you can experiment with different stitching methods, but working in rows is a great foundation for beginners․
Finishing Your Project
Once you’ve completed your cross stitch design, it’s time to finish it off! Begin by securing your threads․ This can be done by weaving them under existing stitches on the back of your work or by using a backstitch to secure them․ Next, trim any excess thread, leaving just a small tail to prevent unraveling․ If you’re using a hoop, gently remove your fabric and admire your finished piece․ Consider adding a border or embellishments to enhance your design․ Finally, choose a suitable frame or display method that complements your creation and showcases your hard work․
Enjoying Your New Hobby
Cross stitch is a rewarding hobby that offers endless possibilities for creativity and relaxation․
Displaying Your Work
Once you’ve finished your first cross stitch project, you’ll want to show it off! There are many ways to display your work, from simple to elaborate․ A basic option is to frame your piece with a mat and glass․ This protects the stitching and enhances its visual appeal․ For a more casual approach, you can use a simple embroidery hoop to showcase your project․ This allows the fabric to hang freely, showcasing the intricate details of your stitching․ You can also use a decorative pincushion to display your work, adding a touch of personality to your workspace․
Joining a Community
Connecting with other cross stitch enthusiasts is a wonderful way to enhance your learning journey and share your passion․ Online communities offer a vibrant platform for connecting with fellow stitchers․ Forums and social media groups are excellent resources for finding inspiration, sharing tips, and seeking advice․ You can also join local cross stitch guilds or workshops to meet fellow stitchers in person and learn from experienced craftspeople․ These communities provide a supportive and encouraging environment where you can exchange ideas, showcase your work, and celebrate your progress as you embark on your cross stitch journey․
Continuing to Learn
The world of cross stitch is vast and brimming with endless possibilities․ As you gain experience, you can expand your skillset by exploring different techniques, such as fractional stitches, back stitching, and even incorporating beads or other embellishments․ There are numerous online resources, including tutorials, patterns, and instructional videos, that can guide you in mastering new techniques․ You can also consider taking online classes or workshops to delve deeper into advanced cross stitch concepts․ Remember, the key is to embrace the learning process, experiment with different styles, and find what brings you the most joy in your cross stitch journey․